


Have you ever wondered if your base layout could be a secret weapon? Building a solid base is more than just piling up structures. It's about setting up smart defense spots, choosing the best resource locations, and planning every corner carefully. Think of it like picking between a health boost or an extra shield in your favorite platform game, each choice comes with its own mix of rewards and risks.
In this guide, you'll get simple tips to tune every part of your base so it really packs a punch. Stick with us and discover the tricks that turn a confusing setup into a winning strategy.
Core Principles for Effective Base Building in Strategy Games
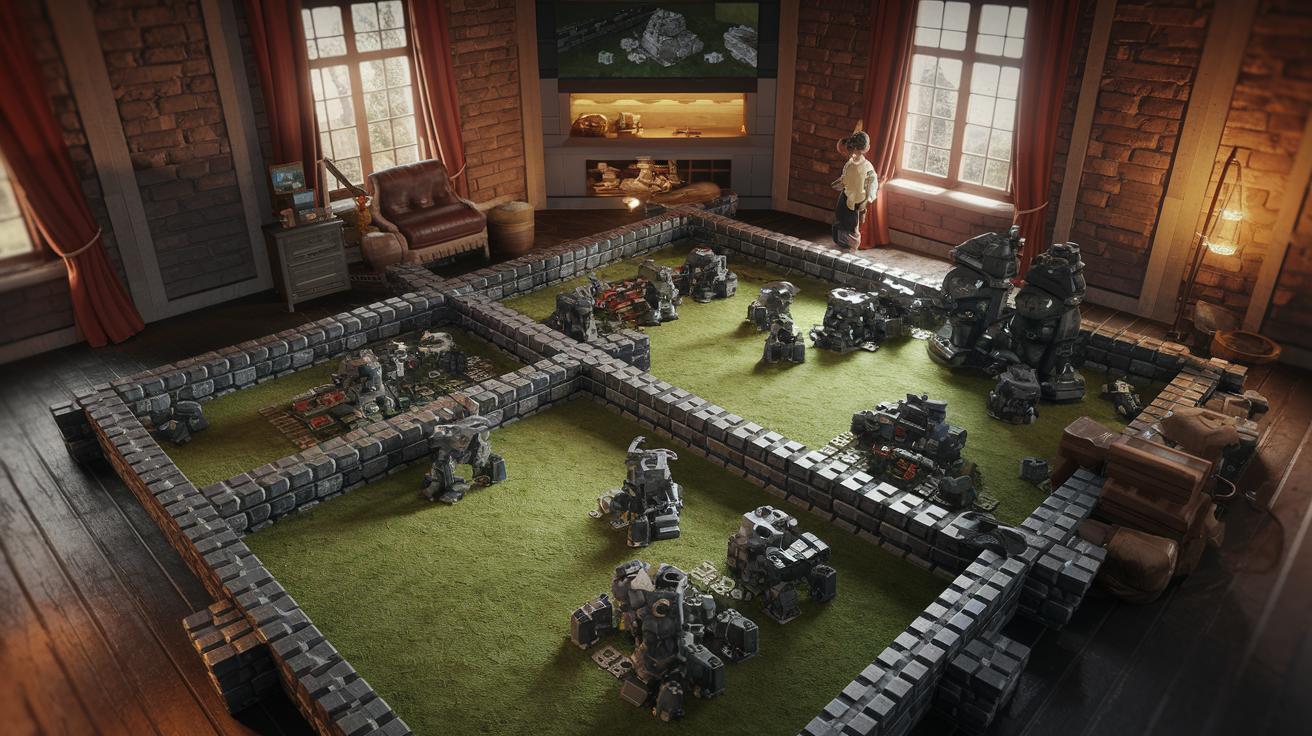
Building your base in an RTS is like planning your next epic game move. Every choice you make, whether it's picking an Armory over a tech upgrade, has its own trade-offs. Imagine it like deciding between a health boost or a cool new ability in your favorite platformer. Sometimes, picking a strong defense, like setting up a guard post when danger lurks, can slow down your tech progress but keep you safer early on.
Take Dawn of War 1, for instance. Its focus on solid building placement meant players could shape enemy movements and create tight choke points. In contrast, Dawn of War 2 shifted gears to more mobile combat. This move shows just how crucial a well-planned base can be. Fun fact: In DoW 1, players spent time perfecting their layouts as a key strategy that still inspires competitive play today.
Games like Age of Empires 2 and Rise of Nations also teach us big lessons about base design. In AoE 2, managing resources like food, wood, gold, and stone is all about keeping your workers busy and efficient. Meanwhile, Rise of Nations changes up resource rules but still proves that a smartly built stronghold sets the pace for the whole game.
Resource Allocation and Economic Expansion in Base Building

Building your base economy is a lot like fine-tuning your favorite gaming rig. In games like Age of Empires 2, each resource comes with its own way of being gathered and dropped off, which keeps your game running smooth. And in Rise of Nations, since resources never run out, you can focus more on growing your base and less on moving your units around. It’s all about keeping things flowing just right.
Setting up special economic spots in your base lets you speed up production and storage. When you line up places for resource collectors, storages, and production spots side-by-side, delays drop away and nothing sits idle. It’s like creating a supply zone where everything sits where it’s needed for peak efficiency.
| Resource | Tip |
|---|---|
| Food | Put farms or hunting spots near central storage to trim down travel time. |
| Wood | Set up lumber collection close to forests to keep the wood coming steady. |
| Gold | Place mining camps next to gold deposits to move resources fast and upgrade quickly. |
| Stone | Locate quarries near your base edge to ramp up defenses in a snap. |
Mixing smart resource routes with dedicated economic zones is key to leveling up your strategy. When you plan out where everything flows and set up clear zones, you can react to threats quickly and keep your base growing strong. It’s all about balancing your resources and expansion so your base can really thrive.
Defensive Fortification and Barrier Construction Techniques for Base Building

Using natural terrain like rivers, cliffs, and mountain passes is a smart and cost-saving way to protect your base. These features slow down enemy advances and force foes into predictable paths, similar to key chokepoints seen in games like StarCraft and WarCraft 3. When you let the landscape work for you, your defenses get a boost without wasting extra resources.
Placing walls or similar structures helps guide enemy units into kill zones. Picture a wall that corrals attackers into a tight spot where your team can easily pick them off, it’s almost like leading them straight into a trap. Every wall you build is a tactical move that adds extra layers to your defense.
Next, setting up bastions and layered perimeter defenses ramps up your base security even more. By organizing several overlapping lines of defense, you create a fortified network that manages breaches better. This multi-layer strategy forces attackers to work through multiple positions, slowing them down and giving your team the upper hand. Combining well-placed walls, natural terrain, and bastion setups turns your base into a stronghold that not only protects your assets but also allows for quick countermeasures when needed.
Leveraging Multi-Functional Structures and Worker Units for Base Building Efficiency
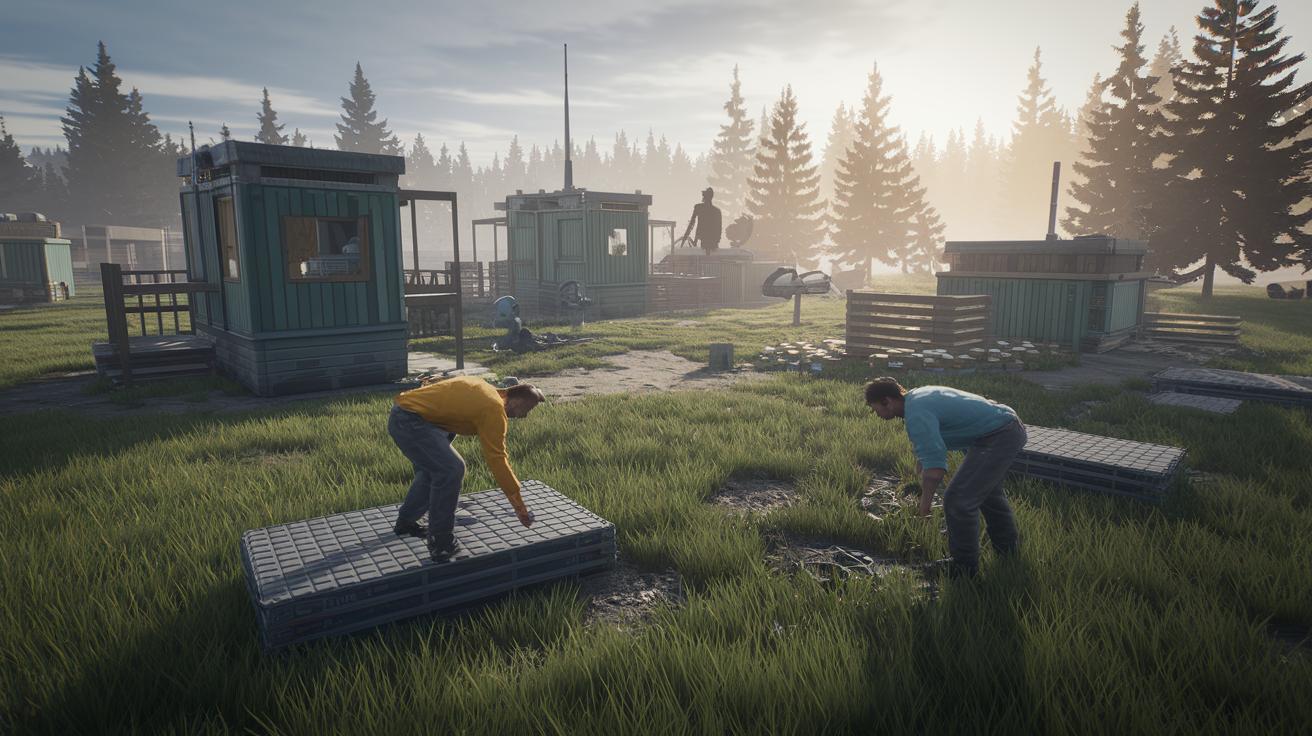
When building your base, it's not just about stacking structures, it’s about setting up smart, multi-use buildings and placing your workers wisely. This kind of setup isn’t just for show; it boosts your defense and runs your entire operation like a well-oiled machine.
WarCraft III Multi-Purpose Building Placement
In WarCraft III, buildings like Ancients, Moon Wells, and resource shops are more than mere structures. They heal your troops, offer combat backup, and help gather crucial resources. When you group these buildings together, they work like a tight team, giving your units that extra boost during skirmishes. Imagine a healing station next to a shop, your troops get the help they need right when it counts.
C&C Generals Engineer Vulnerabilities
In Command & Conquer Generals, engineers aren’t just builders, they’re prime targets. Spies and capture tricks mean that where you build matters big time. Leaving your workers unprotected is like leaving your base wide open for enemy attacks. Smart base planning with secure spots and extra defenses is key, so your builders can work without constantly worrying about danger.
Company of Heroes Engineer Deployment
Company of Heroes shows us that engineers do more than just construct, they often go right into the fray. Losing an engineer slows your build and hurts resource collection. Since these workers serve a dual role on both defense and offense, every loss hits your strategy hard, reminding you to always balance risk with reward when setting up your base.
Balancing a solid infrastructure with worker safety is a bit like managing power-ups during a tough match, it takes smart planning and quick thinking to keep everything running smoothly.
Innovative Layout Schemes for Scalable Base Building Design

When you're setting up your base, smart layout ideas are key to keeping things running well as you expand. Using clever design tricks helps you build a strong setup today that can handle all sorts of new challenges tomorrow. Picture your base like a lively city where roads, power lines, and resource spots all have their own special place.
Hub-and-Spoke Core Model
This approach puts a main command or storage spot at the center, with special wings for resources and military support branching out. It makes moving supplies and units fast and smooth, so repairs and reinforcements get to the action in no time. Think of it like a cool control room that juggles everything on the fly, just like planning a strategic raid with your team.
Zone-Based Districting
Breaking your base into zones for industry, housing, and military tasks can seriously boost efficiency. Each zone handles its own work without getting in the way of the others. This separation cuts down on chaos, letting each area do what it does best, much like keeping your game moves focused and on point. It also makes growing your base easier to manage.
Infrastructure-First Planning
Starting with the basics like roads, power grids, and supply lines means your base won’t feel crowded later on. Setting up these pathways first helps resources move smoothly from one area to another, saving you time and effort. Using repeatable templates and pre-planned infrastructure gives your base a solid framework that handles growth without a hitch.
Tactical Positioning and Combat Unit Placement within Your Base

Ever noticed that in games like StarCraft and WarCraft 3, your units get a serious boost when you position them smartly? Placing ranged units on high ground or behind walls lets them shoot over obstacles and even extend their range a bit. Meanwhile, your melee fighters at choke points can soak up the first hit, safeguarding your base's most important parts.
Using the natural terrain adds yet another cool twist. Hills, rivers, and cliffs aren’t just pretty, they create perfect opportunities for ambushes and flanking moves. By stationing units near these features, you can break enemy lines and force attackers into spots where they’re at a disadvantage. It’s like turning the battlefield into your secret weapon.
And of course, solid teamwork makes all the difference. When you group your units so that ranged attackers support the melee troops, you're setting up overlapping fields of fire and defense. Keeping your forces in tight, flexible formations means you can quickly adjust to enemy moves, disrupting their attacks and warding off surprises. Every unit works like a well-coordinated player in a tight match, ensuring your base stays tough and ready to counter any attack.
Upgrade Sequencing and Adjacency Bonuses in Base Building Progression

When planning your base, timing is everything. Getting your tech and building upgrades in the right order is just like fitting together puzzle pieces, they all click into place. Each upgrade you make boosts your overall strategy while keeping your resources in check. And hey, using research structures as stand-ins can speed up your scouting, so you get a sneak peek at enemy moves early on.
Adjacency bonuses add a cool extra twist. In games like Supreme Commander, grouping your buildings cuts down on energy use because they work together like a tight team. But putting them all together might box you in creatively. Instead, if you group similar buildings smartly, you score efficiency perks and unlock fresh options as your base grows. It’s all about balancing fast progress with clever design.
| Building Type | Adjacency Bonus Effect |
|---|---|
| Power Generator | Reduces energy use when near similar units |
| Research Facility | Boosts tech upgrade speed when clustered |
| Supply Depot | Lowers production costs with adjacent placements |
Remember, even though clustering can give you a quick boost in efficiency, it might limit your flexibility if you need to switch things up in the heat of battle. Finding that sweet spot where bonus benefits help your strategy without trapping your base layout is key to thriving in dynamic combat situations.
Scouting and Contingency Preparation through Reconnaissance Systems in Base Building

When you’re building your base, early scouting is a game-changer. Placing small proxy or tech buildings in forward spots gives you extra eyes on the field. They let you see enemy build-ups and shifting tactics right as they happen, so you can quickly adjust your plan, like switching up a strategy mid-match.
And then there are your radar and detection buildings. These act like a bright beacon in the dark, uncovering sneaky enemy units and alerting you to incoming raids. With these systems in place, you get early warnings to reposition your forces or reinforce weak spots, giving you a real edge over surprise attacks.
Mix in a solid risk check and proactive planning, and you’ve got a setup where your base is always ready. It’s all about staying a step ahead, keeping your defenses tight and your game strong.
Final Words
In the action, we broke down the core principles of base building, resource flow, defensive tactics, and smart layout designs. We explored how every choice, from constructing multi-use buildings to positioning units, can shift the pace of play.
By breaking down these areas, you gain insight into solid planning and precision tactics that can elevate your game. This essential guide to effective base building in strategy games offers a toolbox of smart moves to fuel your next big victory. Enjoy each win and keep experimenting.