

Ever feel like your current gear is holding you back? Imagine building your own PC that totally reflects your gaming style and powers through every challenge.
This guide walks you through each step, like having a buddy by your side. You’ll pick the ideal parts and snap each piece together, simple and clear, just like lining up an epic play.
So, get ready to roll up your sleeves and create a gaming rig that boosts your play to the next level.
Step-by-Step Gaming Computer Assembly Guide
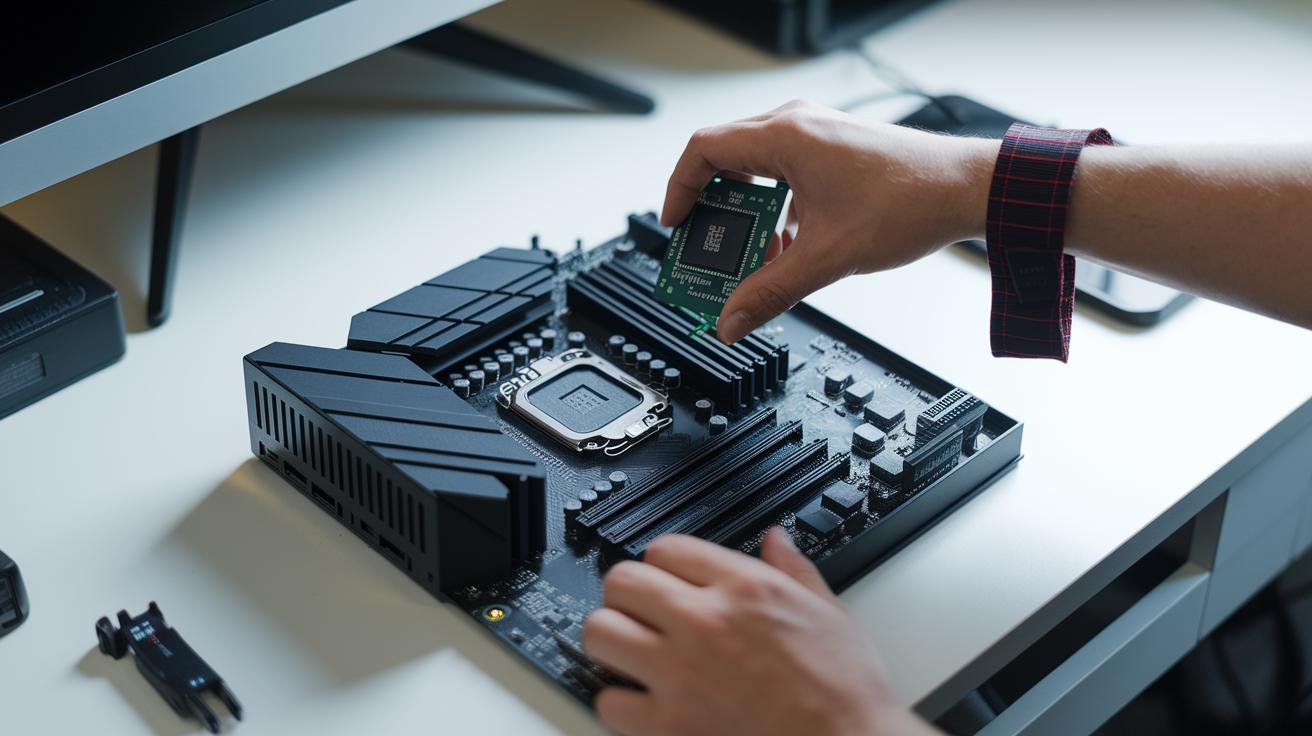
Ever thought about building your own gaming beast? Follow these 14 friendly steps to put together a rig that’ll handle all your gaming quests. Grab your tools, and let’s jump in like starting a co-op session!
- First up, gather your essentials, screwdrivers and anti-static gear like wrist straps, to keep static shocks out of your game plan.
- Next, install your CPU onto the motherboard. Whether you’re rocking an AMD Ryzen or Intel Core X, line up the notches carefully and follow the torque specs like setting up your perfect loadout.
- Now, insert your memory modules. Make sure each tab clicks in place and that you set up dual-channel mode, kind of like pairing your favorite controllers.
- Slot in your M.2 SSD into the PCIe 4.0 slot right by the CPU. Align the notch just right, so it fits like a perfectly executed combo.
- Mount the motherboard in your case using the correct ATX or micro-ATX standoffs. It’s like securing the foundation for your base camp.
- Connect the front-panel USB3, audio, and LED headers. Double-check the polarity to avoid any mix-ups, think of it as matching your in-game controls.
- Time to install the CPU cooler. If you’re using an air cooler, stick to the torque specs; if it’s an AIO, mount the radiator at the top or front and remember to keep fan cables neat.
- Install your power supply using modular cable lacing. Hook up your SATA drives securely, kind of like managing your inventory.
- Slide the Wi-Fi card into the proper PCIe slot. Make sure it fits snugly, like locking in a critical upgrade.
- Place your case fans where they can boost airflow best. Attach any addressable RGB headers and keep an eye on cable routing, just like planning out a smooth strategy.
- Install the graphics card, say an RTX 4070 Ti that might take up three slots, and use a support bracket to avoid any droop. It’s like giving your setup that extra boost for epic battles.
- Manage your cables with zip ties and internal USB hubs for a clean build. This final tidy-up is like organizing your inventory before a raid.
- Boot into the BIOS and, if needed, clear the CMOS before enabling XMP or EXPO profiles. This step is your system’s “ready, set, go” moment.
- Finally, install the operating system and drivers. Run a complete system check to make sure your rig is as ready as you are for the next big adventure.
Each step is a win, building not just a computer but your very own gaming powerhouse. Enjoy the ride and happy gaming!
Component Selection Guide for Gaming PCs
Building a gaming PC is kind of like gearing up for your favorite co-op raid. Every part you choose plays a key role in your overall game, from boosting your speed to keeping your system cool. Think of it like picking the best gear, you want each piece to work smoothly with the others while matching your play style and budget.
Your CPU is like the lead character, driving the whole story. And cooling parts? They’re your trusty shield, keeping everything in check when the action heats up. Paying attention to little details now means you’ll enjoy peak performance during those intense gaming sessions.
| Component | Key Considerations | Example Models |
|---|---|---|
| CPU | Look for fast performance with plenty of L3 cache. Stick with Intel 11th–13th Gen or AMD Ryzen 5000/7000 series for the best results. | Intel Core i7-12700K, AMD Ryzen 5 7600X |
| GPU | Choose a high-performance unit for crisp 1080p gameplay or higher. Make sure to check VRAM and ray tracing features. | NVIDIA RTX 4070 Ti, AMD Radeon RX 7900 XT |
| Memory | Opt for DDR4 or DDR5 kits that support profiles like XMP/AMD EXPO. This helps boost speed and ensures stability. | 16GB DDR4 3200MHz, 32GB DDR5 6000MHz |
| Storage | Pick M.2 SSDs with PCIe 4.0 support. They offer faster load times and keep game installs smooth. | Samsung 980 Pro, WD Black SN850 |
| Motherboard | Consider socket type, VRM quality, and form factor. This way, you’re set for future upgrades and steady power delivery. | ASUS ROG Strix, MSI MPG series |
| PSU | Go with an 80+ Gold rated unit and use tools like PCPartPicker to ensure it fits your power needs. | Corsair RM750x, EVGA SuperNOVA 650 G+ |
| Cooling | Decide if you prefer air coolers or AIO radiators. Make sure the option fits your case and matches your style, maybe even with RGB lighting. | Corsair Hydro Series, Noctua NH-D15 |
Take your time reviewing each part so your build becomes a cohesive, powerful combo. Every decision adds up, ensuring smooth gameplay, killer cooling, and a balanced system that’s ready for any challenge. Happy building, and may your gaming sessions be epic!
Budget-Friendly Rig Construction Tips

Start by slashing your build costs. Look for coupon codes from Dell, Asus, Newegg, Corsair, and Razer – these can really cut your expenses. Holiday sales might even knock off as much as $600 and throw in free shipping, so keep an eye on those seasonal deals. Scouring local deals on second-hand parts can also save you around 25% on key components. Every saved dollar gives you extra cash for performance upgrades.
Keep your eyes peeled for affordable parts and sudden price drops while you build. Lots of online stores push low-cost bundles paired with promo codes that can drop your overall expenses big time. With these discounts, building your own custom rig becomes a project that won’t leave your wallet feeling too light, unlike some pricey prebuilt systems.
One quick comparison: a custom build running just over $2,000 can save you 15–20% compared to prebuilt options. Tools like PCPartPicker (or similar price trackers) let you check component prices regularly so you can grab the best deals. This way, you’re not only cutting costs but also hand-picking each part to suit your needs. With the right mix of deal hunting, smart selections, and regular price checks, you can create a high-performance rig without busting your budget.
Post-Build Configuration and Optimization Techniques

Now that you've finished building your gaming PC, the real fun begins, fine-tuning everything so it runs like a champ. Think of it like switching your game to ultra settings; it's all about getting that extra boost in performance.
Hop into your BIOS first. Turn on XMP or AMD EXPO profiles to help your memory run at its best speed. Don’t forget to update your firmware and chipset drivers to clear out any bugs. Next, install the latest NVIDIA or AMD GPU drivers so your graphics flow smoothly. Tweak your Windows power settings to favor performance over saving energy, kind of like cranking up the challenge level in your favorite game. I once set my system to high performance, and it felt just like upgrading my controller mid-match.
After that, give your rig a solid test run. Use benchmarks like 3DMark Time Spy and Cinebench R23 to check overall speed and power. Keep an eye on temperatures with tools like HWMonitor or MSI Afterburner, just like watching your health bar in a tight boss fight. Run a stress test for about 12 hours to make sure everything stays stable. Then, adjust your GPU core clock in small steps and keep DDR5 voltage safe at around 1.35 V. I remember the thrill when my 3DMark score jumped, it felt like slaying the final boss in an epic showdown!
Troubleshooting Common Construction Issues in Gaming PC Builds

Building your gaming PC can hit roadblocks that make you think, "Something's not right." You might end up with no display at startup or see your BIOS freeze while buzzer beeps or LED flashes warn you there’s a problem. These signs usually mean loose connectors like the 24-pin or CPU 8-pin ones, RAM that isn’t seated properly, or a CPU set up a little off. Watch those LED lights and listen for beeps, they act like in-game hints telling you what to fix.
Start by checking every power connector to make sure it's snug. Reseat your RAM and GPU to clear up any bad contacts, and double-check your CPU cooler to see if it's using the right amount of thermal paste. If your BIOS still won’t boot, try resetting the CMOS and follow any beep-code advice you get. Those onboard debug LEDs are super handy for zeroing in on the trouble spot, and testing parts on a known-good motherboard can really pinpoint the issue.
To keep your system running smoothly long-term, regularly check that all screws are tight and the standoffs are lined up to avoid bent CPU pins. You might want to tidy up your cables and adjust fan positions to boost airflow and cut down on noise. Lastly, tune your settings for energy efficiency so every part works like it’s meant to, keeping your build cool and ready for your next epic gaming session.
Advanced Performance Upgrades and Future-Proofing Your Gaming PC
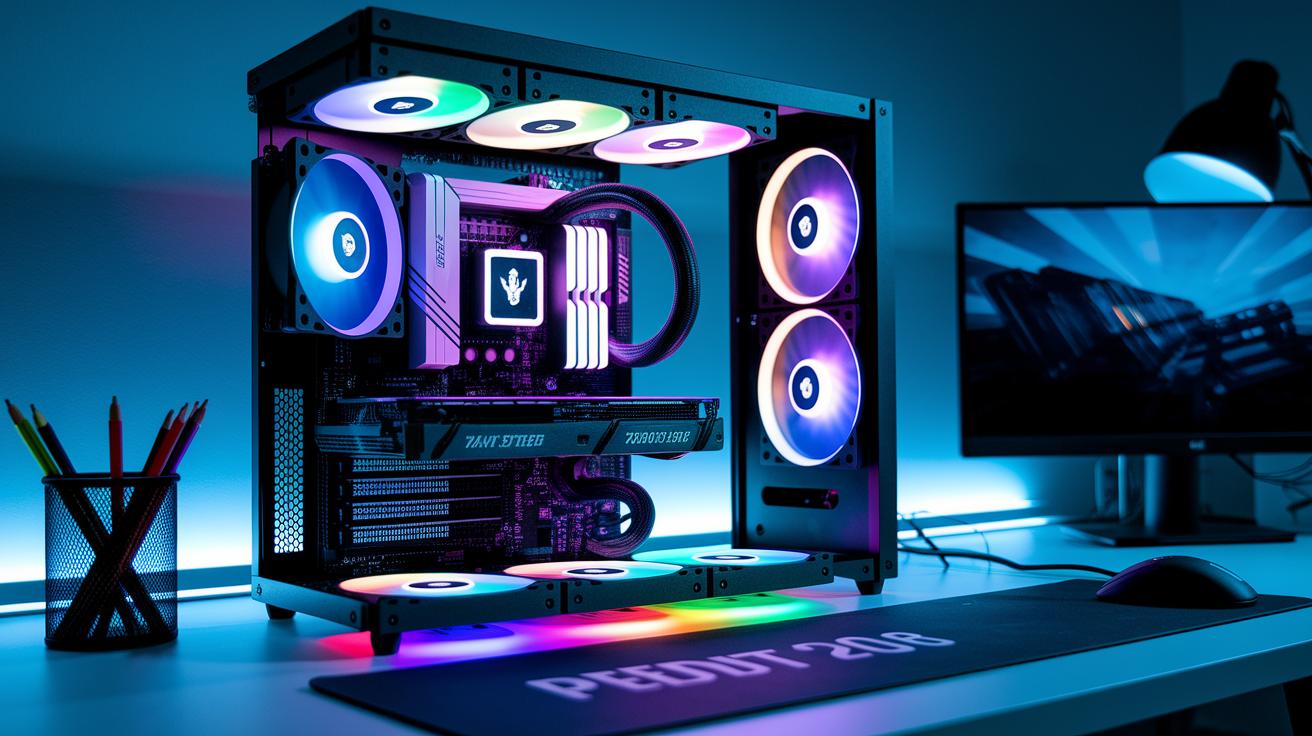
If you’re ready to give your rig a serious boost, start with hardware upgrades that set you up for the future. Kick things off with a custom water-cooling loop for both your CPU and GPU so your system stays cool even during the most intense gaming marathons. Upgrading to a PCIe 5.0 motherboard teamed with DDR5 memory cranks up speed and makes everything super responsive. And hey, why not add some Thunderbolt 4 or USB-C front-panel connectors? Toss in extra M.2 NVMe slots with PCIe adapters, and your setup will be ready for whatever’s next.
Next, amp up your cooling and lighting to create a gaming den to be proud of. Custom fan mounts can balance cool airflow with minimal noise, kind of like the perfect soundtrack in your favorite game. Experiment with ARGB controllers that let your rig glow in your unique style. And if you’re into personalization, try a bit of panel modding or badge lighting techniques that give your build a one-of-a-kind look. It’s all about making your setup not just powerful, but visually epic too.
Finally, consider adding wireless accessories and creative case modding to round things out. Wireless charging pads for your controllers bring a neat, clutter-free feel right to your desk. Plus, advanced modders are coming up with cool cable routing ideas and smart cooling panel mods that not only look amazing but also help keep your components cool. These tweaks make sure your gaming PC isn't just a beast in performance, it’s also a head-turning masterpiece.
Final Words
In the action, this article guided you through every step of assembling your custom system. It broke the process down into 14 clear steps, offered tips for choosing the right parts on a budget, and shared ways to tweak your setup for a smooth experience. We also tackled troubleshooting fixes along with ideas for cool upgrades. Follow the ideas here if you're wondering how to build a gaming pc that stands up to today’s challenges. Happy building and enjoy the game!
FAQ
How much does it cost to build a gaming PC?
The cost to build a gaming PC ranges widely; starting around $500 for a budget rig and increasing based on the quality of parts you select and current market rates.
How do you build a gaming PC step by step, including tips from current Reddit guides and 2025 updates?
Building a gaming PC from scratch means following a detailed 14-step process—gathering tools, installing components like CPU and GPU—and checking community guides for timely updates and extra tips.
What parts do I need to build a gaming PC?
The necessary parts include the CPU, GPU, motherboard, memory, storage, power supply, cooling system, and case. Plus, you need the right cables and tools to complete the build.
How can I build a gaming PC on a budget, even under $500?
Building a budget-friendly gaming PC means picking cost-effective parts, tracking online deals, and sometimes buying used, letting you save money while still getting a playable and fun machine.
Is it cheaper to build my own gaming PC?
Building your own gaming PC typically saves money by cutting out prebuilt premiums and giving you the control to select the most affordable parts without compromising learning or performance.
How hard is it to build a gaming PC for beginners?
Building your first gaming PC can be straightforward if you follow clear, step-by-step instructions and tap into community support, turning the process into an engaging learning experience.