
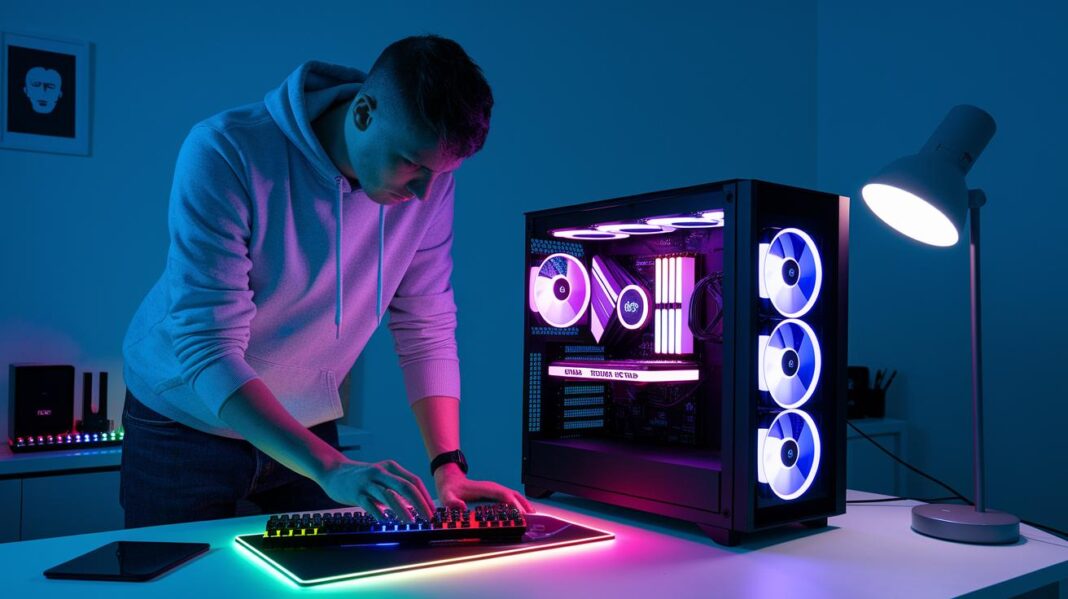

Building your own gaming PC can feel as tricky as a tough level, right? Imagine a guide that walks you through easy checkpoints so every step clicks into place.
With clear tips and a neat setup, your desk turns into the launch pad for epic wins. Each step is like a power-up, guiding you to pick quality parts without any frustrating setbacks.
So, are you ready to set up a rig that plays as hard as you do?
Step-by-Step Construction Tutorial for Your Gaming PC Setup
When you have a clear plan, building your gaming PC gets a whole lot easier. It helps you focus on each step without stressing over tiny mistakes. Plus, it reminds you to keep your space tidy, bright, and safe from scratches on your desk.
This step-by-step plan is like having checkpoints that save you time. Preparing a Windows 10/11 bootable USB drive in advance and keeping an eye on every part turns the process into a smooth game session.
- First, pick a clean, spacious, and well-lit spot, and protect your wooden desk so nothing gets scratched.
- Next, unbox your gear and check you’ve got all your parts, motherboard, CPU, GPU, RAM, storage (that could be a speedy M.2 SSD or a larger HDD), power supply, and case.
- Get your Windows bootable USB drive ready; it’ll come in handy when you install the operating system.
- Carefully install the CPU by lining up the triangle markers and handling it by the edges. Be extra gentle with both AMD and Intel chips.
- Then, add your CPU cooler or liquid cooling system by putting a pea-sized dab of thermal paste on the chip’s heat spreader before mounting it.
- After that, place the motherboard into the case, making sure the I/O shield is fitted and the standoffs align.
- Firmly pop the RAM modules into the recommended slots, using even, gentle pressure.
- Secure the storage device properly. Whether it’s a compact M.2 SSD or a bigger HDD in its bay, make sure it’s snug.
- Finally, insert the GPU into its main PCIe slot and lock it in place with screws, hook up the power supply, and do a quick cable tidy-up before you jump into the BIOS and install your OS.
Following these steps is like having a reliable guide during an epic raid, it makes sure every part is set up right, so you get the best gaming performance without any hiccups.
Custom Component Selection for a Balanced Gaming PC Setup
When you build your gaming PC, checking that all parts work well together is key. Think of it like making sure your favorite controller fits perfectly with your console. You need the right match so every game play is smooth and fun.
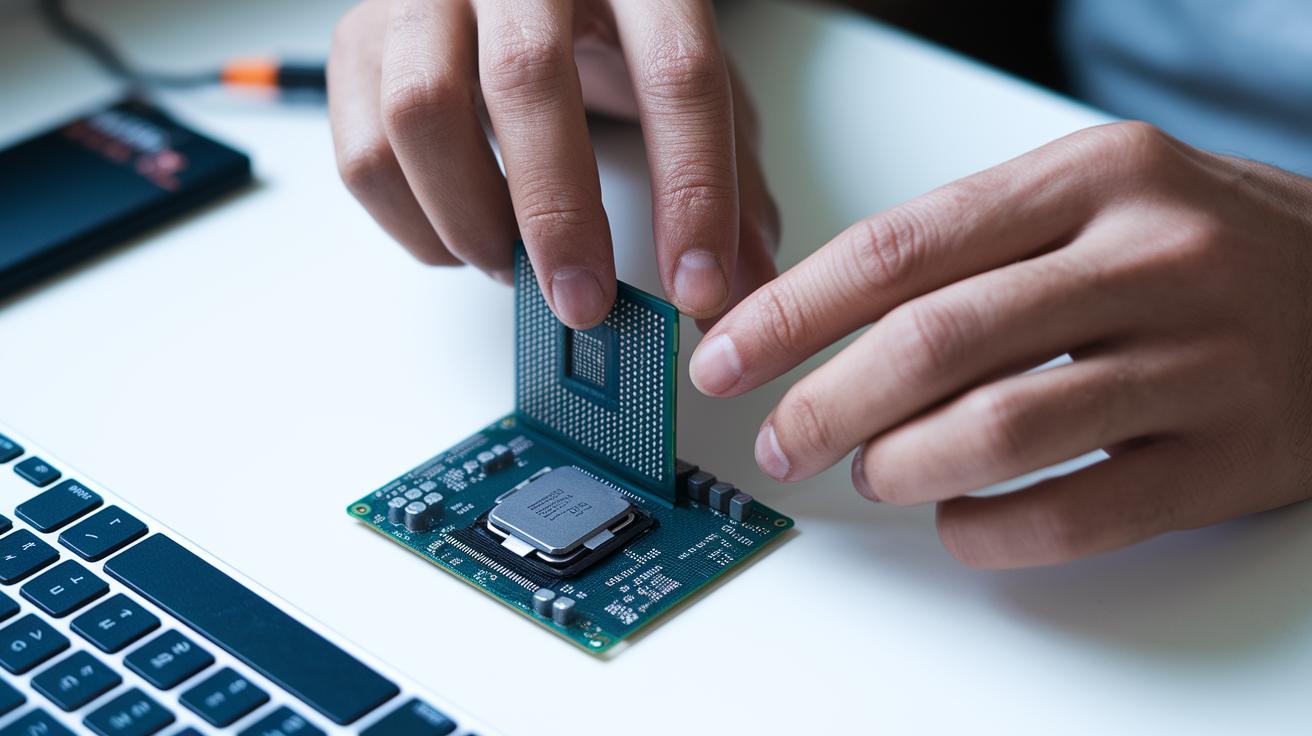
- CPU: Choose between AMD and Intel by confirming the socket type and making sure the pins in the CPU align with your motherboard’s design.
- Motherboard: Look for designs with PCIe slots that support speedy GPUs, plenty of M.2 or SATA connections for your storage, and strong VRMs to keep power steady.
- GPU: For instance, if you pick an NVIDIA GeForce RTX 3070, ensure you have a PCIe x16 slot and an 8-pin power cable ready. This helps your graphics come through crisp and clear.
- RAM: Aim for 16–32 GB of DDR4 3200+ memory in a dual-channel setup. This gives you the quick response needed during those intense gaming moments.
- Storage: Decide between a fast NVMe SSD for speedy boot times or a SATA SSD/HDD if you want extra space for your game library.
- Budget vs. Performance: Lay out the game’s requirements against your budget like planning a raid. Sometimes, a little extra spending lets you power up and be ready for future upgrades.
Spending a bit more now could save you headaches later, letting your setup grow with your gaming skills. Enjoy the hunt for the perfect parts and happy gaming!
Configuring the Motherboard, Processor, and Memory in Your Gaming PC Setup
CPU and Cooler Installation
When you handle your CPU, grab it by the edges and line up the little triangle marks just like we talked about before. Next, dab a teeny bit, about a pea-sized blob, of thermal paste on the CPU’s heat spreader before you put on the cooler. This little trick keeps your chip cool without wasting paste. If you’re unsure about any step, check back with the earlier guide for more tips.
Motherboard Mounting Procedure
First, click in the I/O shield, then gently place your motherboard onto its stand-offs. Screw it in, making sure you tighten enough for it to be secure but not too tight, imagine snapping puzzle pieces together without forcing them. The idea is to hold everything firm without stressing the board. Remember that tip from the main guide about matching the proper screw pressure.
RAM Slot Configuration
Now, pop your RAM into the recommended dual-channel slots as mentioned earlier. Press each stick in evenly, think of using about 30 pounds of force, to lock them in nicely without bending any pins. It’s like fitting that final piece into a puzzle; a steady, balanced push is all you need to get everything clicked into place.
Installing Graphics Cards and Storage Drives in Your Gaming PC Setup
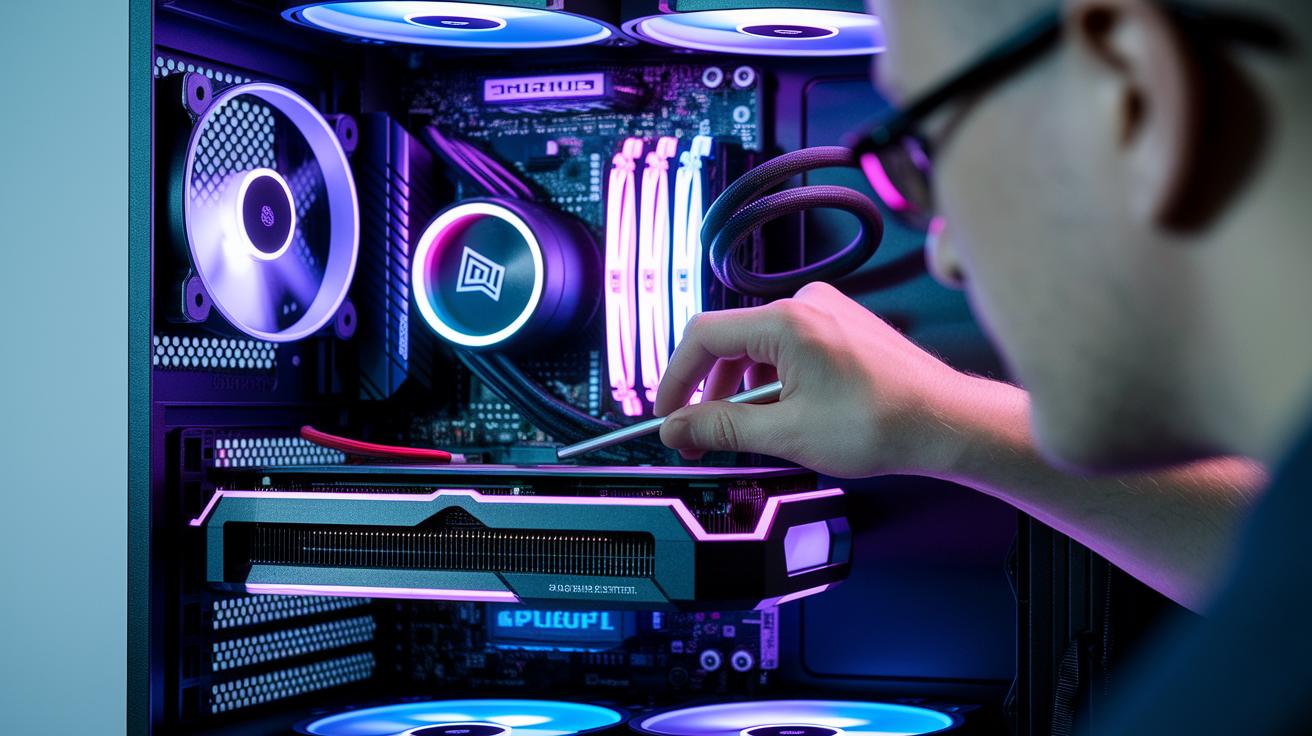
When you're ready to add your GPU, start by handling the PCIe slot. Pop the graphics card into the main PCIe x16 slot on your motherboard so it can use all the bandwidth for the best image quality. Slide it in gently, line it up right, and screw it in place. Don’t forget to attach the proper power cable (either 6- or 8-pin) to lock in that performance and avoid any mid-game disconnects.
| Drive Type | Mount Location | Transfer Interface |
|---|---|---|
| NVMe SSD | Motherboard Slot | PCIe |
| SATA SSD | Drive Bay | SATA |
| HDD | Drive Bay | SATA |
Next, secure everything and tidy up your cables for that clean build look. Double-check that the graphics card is firmly screwed in so it doesn’t budge during play. When you attach your storage devices, remember that NVMe SSDs slot directly onto the motherboard, while SATA SSDs and HDDs go into their special drive bays. Think of cable routing like setting up a strategic path, it improves airflow and keeps heat levels down. Lay cables along the edges, and tie them up with zip ties or Velcro straps. This neat setup not only looks cool, but it also makes any future troubleshooting a breeze. And finally, make sure your case fans have a clear path for air to flow in and out, so your rig stays cool even during those marathon gaming sessions.
Power Supply Sizing, Cooling System Installation, and Thermal Management for Your Gaming PC Setup
When you're setting up your gaming rig, start by sliding the power supply into its bracket inside your case. Make sure the screw holes line up so it stays secure. Picking the right wattage is super important, you need a PSU that meets your parts' power needs without cranking up extra heat. A higher-wattage PSU can bump up the temperature, so balance the total power (TDP) with cooling that actually works. A solid PSU setup and the right wattage lay the groundwork for a cool, steady system.
- Route cables behind the motherboard tray to keep things looking neat.
- Use zip ties or Velcro straps to bundle loose cables.
- Keep GPU power cables away from other sensitive wires.
- Run SATA cables and front-panel headers along the case edges so air can flow.
- Group similar cables together to make future maintenance a breeze.
- Avoid sharp bends; let your cables follow gentle curves.
- Secure cables with mounting clips on the case frame to stop them from moving around.
- Separate power cables from signal cables to cut down on interference and extra heat.
Next, think about your cooling setup. Installing at least one intake fan and one exhaust fan helps cool the parts that need it. You might even want to add an all-in-one liquid cooler. Just be sure its tubing lines up right so it pushes heat away from your key components. With tidy cables and a smart cooling plan, every piece stays at a good temperature. This means your gaming PC will run smoothly and look neat inside, ready for all those epic gaming sessions!
BIOS Setup, Driver Updates, and Performance Optimization Strategies for Your Gaming PC Setup

Hey, let’s get your rig set up for peak gaming. First, jump into your BIOS to make sure your CPU, RAM, and storage are all recognized. While you're there, set USB as your main boot device so you can easily install your OS later. Also, enable the XMP profile so your RAM kicks in at its full rated speed, helping your system run smoother. Keeping firmware and drivers up-to-date, from your motherboard and chipset to your GPU, means every part works at its best. And don't forget to run a stress test like 3DMark to check that your system stays stable when things heat up.
Here’s your quick checklist:
- Jump into BIOS to see if your CPU, RAM, and storage are detected.
- Set USB as your primary boot device.
- Enable XMP in BIOS for your RAM to hit its top speed.
- Update your motherboard’s firmware.
- Install Windows 11 as your operating system.
- Update your chipset drivers for smooth game flow.
- Install the latest GPU drivers.
- Tweak your power profiles to find the perfect balance between performance and power use.
- Run stress tests like 3DMark to make sure everything holds up.
- Keep an eye on benchmark scores and temperatures to get a real feel for your system’s performance.
After you finish these steps, compare your benchmark results to what you expected. Think of it like checking your score after a challenging level, you can see if everything’s running just right or if you need to make a few adjustments before your next gaming marathon.
Troubleshooting Your Gaming PC Setup and PC Building Resource List
If your rig isn’t lighting up at power on, start simple. Check that the RAM is properly seated, the GPU is snug, and all the power connectors are firmly attached. Sometimes, a quick clear CMOS can bring your system back to life. And if your setup feels too hot, tweak fan curves, reapply thermal paste, and make sure the cooler is sitting right.
Next, run some performance tests to see if your FPS and benchmark scores match what you expect. This quick check helps you figure out whether the hiccup is a hardware glitch or just a cooling issue. Also, don’t forget to peek at popular build forums or the manufacturer’s tips for extra clues!
- Manufacturer support pages
- Popular build forums
- Trusted online PC repair communities
- Renowned tech video channels
- Detailed hardware troubleshooting manuals
- Social media groups for PC builders
- Comprehensive online guides
If you still face no-POST errors or unexpected slowdowns after these steps, it might be time to call in a pro. When basic fixes don’t do the trick, a seasoned expert can offer in-depth help, double-check that your components are compatible, or spot hidden issues that simple tests might miss. Knowing when to ask for professional help can be as crucial as really understanding your system’s setup.
Final Words
in the action, this guide broke down each step, from choosing core components to mounting the motherboard, fitting the GPU, and arranging PSU and cables, making the process clear and manageable. It also covered BIOS tweaks and fixing glitches to keep your build running smoothly. Every section offers friendly tips to help you avoid missteps on how to build a gaming PC setup that powers your play. Stick with these insights, and you’ll soon have a setup that amps up your gaming experience!
FAQ
How do I build a gaming PC setup from scratch?
Building a gaming PC setup from scratch involves starting with a clean workspace and assembling key parts like the motherboard, CPU, GPU, RAM, storage, power supply, and case. Follow detailed, step-by-step instructions for a smooth build.
What parts are needed to build a gaming PC?
The parts needed include the motherboard, CPU, GPU, RAM, storage drive (SSD or HDD), power supply, and case. Checking compatibility and proper cable routing is essential for optimal performance.
How expensive is it to build your own gaming PC and can you build one on a budget?
Building your own gaming PC can vary in price. Budget builds can start under $500 while higher-end builds may cost over $1000, depending on the desired performance and selected components.
How many FPS can a $700 gaming PC run?
A $700 gaming PC can generally deliver smooth gameplay with around 60 FPS in many modern games, though performance may vary based on game settings, resolution, and component balance.
Can a $500 PC run Fortnite smoothly?
A $500 PC can run Fortnite smoothly on lower settings, offering a playable experience. The exact performance depends on selected parts and overall hardware balance.
What GPU works well in a $1000 gaming PC build?
A $1000 gaming PC build can benefit from GPUs like the NVIDIA GeForce RTX 3060 or AMD Radeon RX 6600 XT, which offer a good balance of cost and performance for modern games.