


Ever notice how some gamers always seem to be one step ahead? It's like having a perfect chess strategy where every move counts. Taking control of the map limits your enemy’s choices and sets the pace for the game. This guide shares cool tips to grab key zones, nail your timing on rotations, and predict enemy moves like a pro. Stick with us and get ready to keep your opponents guessing at every turn.
Core Principles of Map Control Mastery in Real-Time Battles
Map control means using the game zone to limit your enemy’s moves. In real-time battles, it sets the pace and can even win the match. When you nail map control, you cut down on surprises. Think about cruising the battleground knowing all the sniper spots and ambush areas so you can plan ahead and keep your opponent guessing. It’s like having a top-down view where every step counts.
Getting a grip on map control comes down to knowing the layout and reading enemy moves like a pro. By mastering the map’s layout, timing your moves, and spotting enemy trends, you can always be one step ahead. These skills help you hold key areas tight and switch up tactics quickly so you’re never caught off guard. That constant flexibility means your team stays in control.
- Zone Awareness – knowing key areas and choke points
- Timing Rotations – moving at just the right moment
- Vision Control – keeping sightlines clear for intel
- Resource Management – using units or items to secure ground
- Anticipation – guessing enemy shifts before they happen
- Adaptation – changing plans as the battle evolves
These ideas all work together to form a solid strategy. By blending quick awareness, spot-on timing, and smart strategy, you build a base that adapts to the ever-changing battle. Each part supports the others, turning your game into a well-oiled machine that consistently outplays the opponents.
Terrain Analysis and Critical Point Occupancy for Map Control
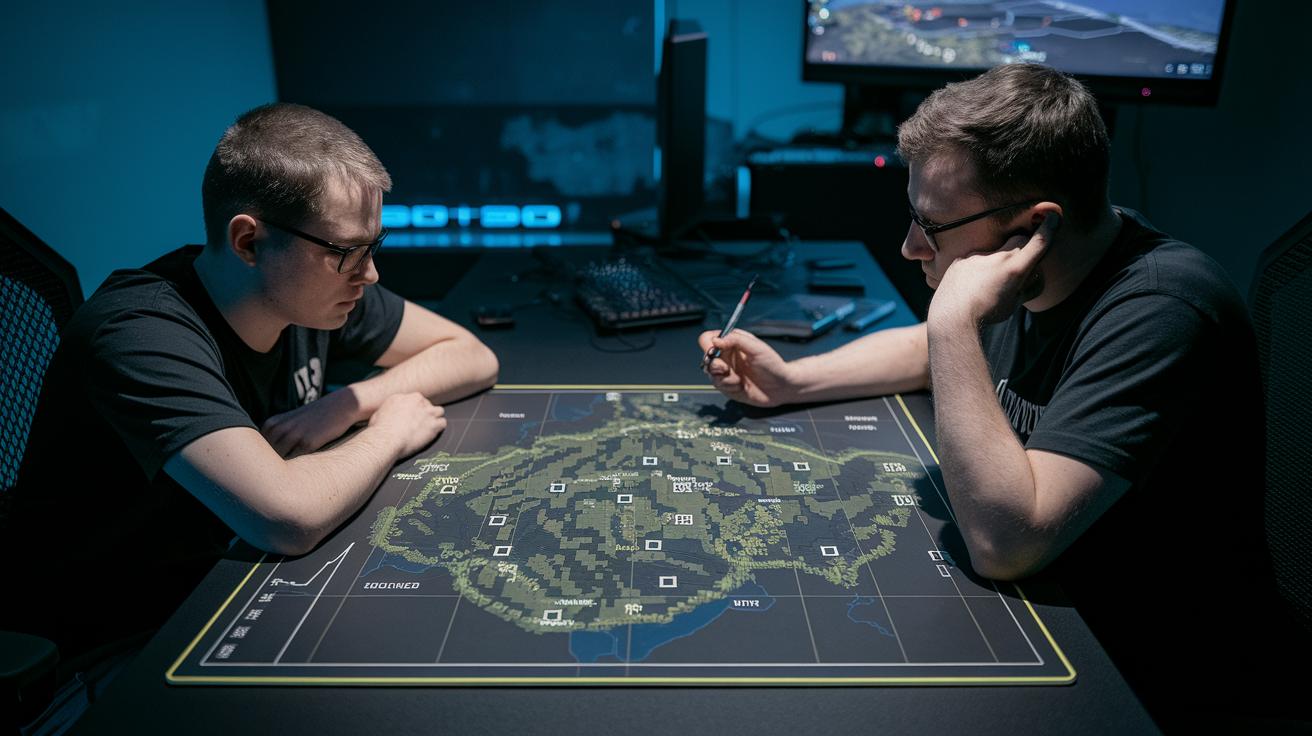
Getting a handle on the terrain is like having a secret weapon in every match. Real gamers know that every hill, building, or ditch hides a chance to outsmart the enemy. When you study the map, you can spot high spots and safe corners that let you see what's coming and defend like a pro. This kind of smart play forces your rivals into narrow paths, making their moves easier to predict. That means you can keep the pressure on by using high ground, chokepoints, and hidden side routes.
| Position Type | Tactical Benefit |
|---|---|
| High Ground | Better view, natural cover |
| Chokepoint | Makes enemies funnel, easier defense |
| Flank Routes | Allows surprise moves, constant pressure |
When you grab these key spots, you push your foes into predictable routes and weak spots. Mastering how to read the map gives you control over the hottest areas, making enemy pushes way riskier and setting them up for counterattacks. It’s all about keeping your edge when the game heats up, so you stay one step ahead in every twist and turn.
Expert Position Management and Route Schematics
When planning your routes, start by sketching out paths using grid rules. Think of your map like a chessboard, every square counts. Use a grid strategy to cover all key zones with no gaps or overlaps. Early game relies on smart routing for scouting and grabbing resources, so design a layout that links building spots with natural cover. It helps lock in strategic areas, letting you move your units with style and keep your opponents guessing. As you might say, "Plan your moves like setting up a chess match, each move counts."
Next, balance your unit deployment. Get your movement corridors set up so that every squadmate lands at a crucial spot, ready to make the most of open lanes or fill sudden gaps. By giving each unit a role, whether attacking or defending, you keep a tight grip on the map’s tricky parts. Consistent movement paths mean you don't waste resources and your crew is always positioned for a quick response. Imagine your team weaving through narrow hallways, each member covering a specific angle to fend off attacks.
For lasting map control, micro-management is your secret weapon. Plan your moves ahead instead of just reacting to the moment. Smart pathing in real-time strategy games stops delays that could cost you control. Mix proactive planning with on-the-fly tweaks to outsmart enemy moves. In short, thinking one step ahead, scheduling unit movements and coordinating strikes, turns a random group into a synchronized force that methodically secures every corner of the battleground.
Agile Field Maneuvers and Dynamic Control Shifting
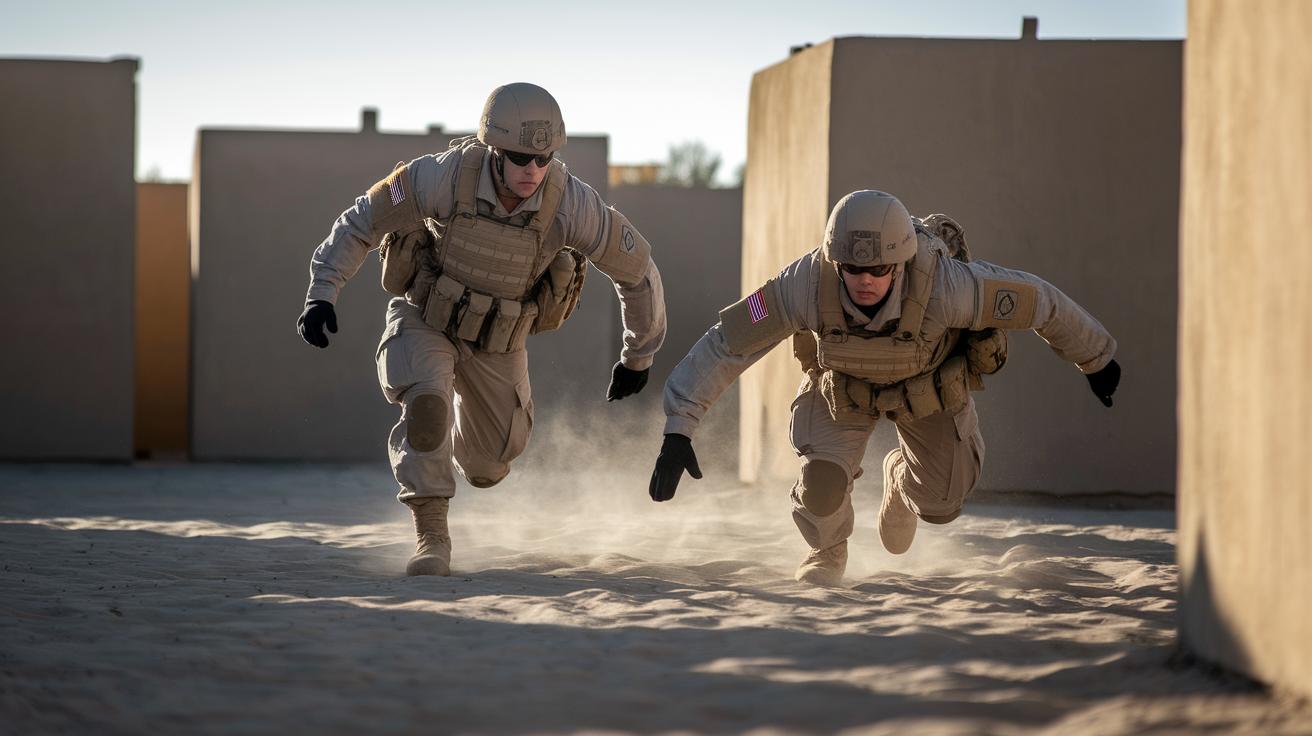
Agile field maneuvers give you the power to slip into dangerous zones without making a big scene. Quick sprints, smooth slides, and sharp jumps let you enter heated areas quietly while keeping your aim steady. It’s like dodging enemy fire in a tight maze. Ever dashed through an alley, slid behind cover, and surprised an opponent? That tiny moment can completely change the tide of battle.
Dynamic control shifting is all about knowing when to charge in or pull back to keep your enemy on their toes. Switching up control points forces your rivals to scramble, leaving gaps in their defense. Imagine easing off one choke point and then seizing a spot where everyone’s watching – it’s a solid move that keeps pressure right where you want it.
Blending quick moves with clear map insights is key to mastering your tactics. When you combine agile sprints with smart map reading, you can predict enemy actions and stay one step ahead. It turns reactive plays into proactive wins. Picture a perfectly timed jump between covers in the heat of battle – that smooth transition grabs key areas and puts your foes on the defensive.
Equipment and Loadout Optimization for Map Control
When you're in the thick of a battle, choosing the right weapon for each role can totally change your game. SMGs and shotguns, for example, work best in tight spots where a quick burst of fire can halt enemy moves. These guns help you lock down key zones and react fast when danger suddenly appears. On the other hand, ARs and snipers are your go-to in open areas. They give you a clear, long-range view so every shot really matters, perfect for setting up strong defenses or catching foes off guard. Plus, swapping in attachments that boost stealth or accuracy is like giving each weapon its special upgrade.
And hey, don’t overlook your utility gear and consumables. When things heat up late in the match, items like gas masks and stims can really save the day. They boost your survival, letting you hold onto your ground even when the pressure’s on. By syncing your gear with your game plan, you build a solid setup that keeps you battling strong while denying your opponents any safe space.
Synergistic Team Coordination and Command Execution
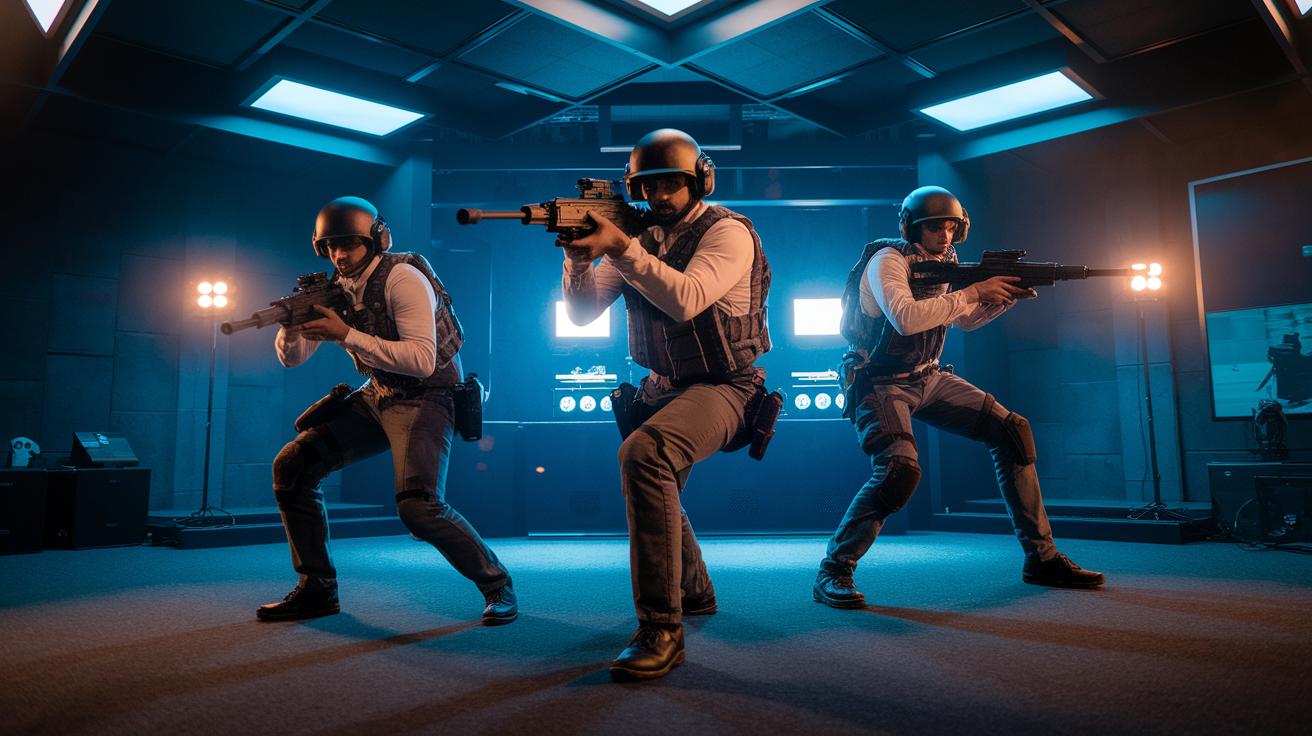
In real-time battles, every teammate is a hero. Giving each player a specific role, like the scout who watches out for surprises, the anchor who holds down key spots, and the flanker who sneaks in to disrupt enemy plans, makes sure no part of the map gets ignored. The scout gathers important info, the anchor secures vital zones, and the flanker throws off the enemy from the side. And with live voice chats, everyone can share updates and tweak their strategy on the fly. This setup keeps your defense rock-solid while paving the way for smooth counterattacks so nothing is left unguarded.
Execution cycles are the heartbeat of a strong team. Quick callouts during tense moments alert everyone to enemy shifts, letting the squad rotate and move as one. These synced moves not only close gaps but also guide opponents into predictable paths, making them easier to handle. And if things take a wrong turn, backup plans, like alternative routes or set cover spots, are already in place. When every call and movement lines up perfectly, the whole team becomes a united force that holds the map together and turns chaotic fights into smart, controlled plays.
Endgame Map Control: High-Pressure Tactics in Final Zones
When the game hits its final moments, building quick defenses and locking down choke points is key. As the play area shrinks, you can turn even a small patch of ground into a stronghold by using pre-set defenses and high ground. This forces enemies into tight spots where their moves become easier to predict. Fast timing and smart placement can flip a panic retreat into a solid stand.
Watching your position gets even more important when enemy vehicles are on the move. Using gadgets like C4 or rocket launchers helps clear these threats off the map in a flash. The goal is to keep every zone safe so that even armored foes can’t break through your lines.
And if you ever get pushed off your stronghold, don’t sweat it. Knowing how to solo-exfiltrate and recover quickly, like staying alert during a Gulag escape, can change the game. A quick, careful exit lets you regroup and set up your next move, keeping your impact felt on the battlefield even when things get really intense.
Final Words
In the action, we broke down winning tactics, exploring how map control keeps you sharp, whether you're timing rotations, holding key zones, or planning agile maneuvers. We saw how terrain, gear choices, and squad plays work together to keep opponents guessing.
This advanced guide to mastering map control in real-time battles wraps up key strategies and tips for staying on top and keeping your play dynamic. Keep practicing these ideas, and you'll keep dominating every match.
FAQ
How do I control maps in Overwatch 2?
Controlling maps in Overwatch 2 means reading the environment, timing rotations, and taking charge of key zones to limit enemy moves and set your team’s pace.
How does map awareness improve gameplay in Forsaken?
Map awareness in Forsaken means spotting important areas and enemy patterns, which lets you adjust tactics, keep safe positions, and maintain steady control during matches.