


Ever set up a shelter that feels more like a trap than a safe spot? In ARK Survival Evolved, your base isn’t just a building, it’s your lifeline against wild threats. This guide lays out the top tips early players swore by to keep one step ahead of danger. We cover everything from leveling up and grabbing the right gear to planning a layout strong enough to fend off surprise attacks. Ready to swap rookie mistakes for smart, solid defense? Let’s build a base that really holds its own.
ark survival evolved base building walkthrough: Winning Moves
Let’s kick off your base building adventure by leveling up your character and unlocking those core Engrams. In ARK, every move matters, like learning your combo moves before a big duel. Fun fact: early players often find that mastering Engrams can instantly boost their odds of surviving. This early work sets you up to craft the right tools and structures later on.
Once you’ve nailed the basics, it’s time to gather your building supplies. You’re looking for Wood, Thatch, Fibre, and Stone, the bread and butter of your new shelter. Pro tip: head inland for a richer stash instead of sticking to the coast. Then, craft a Stone Hatchet and Pick; think of them as your trusty gear before an epic raid, making resource hunting and building much faster and smoother.
Now, bring your plan to life. Start by laying a strong foundation that can hold four wall pieces. Then add your four walls, a ceiling, and finish with a door frame and a door. This step-by-step build not only gives you a solid base but also helps keep unwanted creatures from popping up nearby. It’s a smart move that turns rookie mishaps into a fortress you can count on.
Here’s a quick checklist to guide you:
| Step | Action |
|---|---|
| 1 | Level up and unlock core Engrams |
| 2 | Gather Wood, Thatch, Fibre, and Stone |
| 3 | Craft a Stone Hatchet and Pick |
| 4 | Scout and choose an inland spot |
| 5 | Lay the foundation, then add four walls and a ceiling |
| 6 | Add a door frame, door, and roof |
Avoid common early slip-ups like skipping resource checks or underestimating a strong foundation. Stick to these steps, focus on collecting your supplies, and plan your layout carefully. Do that, and you’ll build a reliable, defendable haven in ARK that feels just like home. Happy building!
Choosing Your Base Location in ARK Survival Evolved
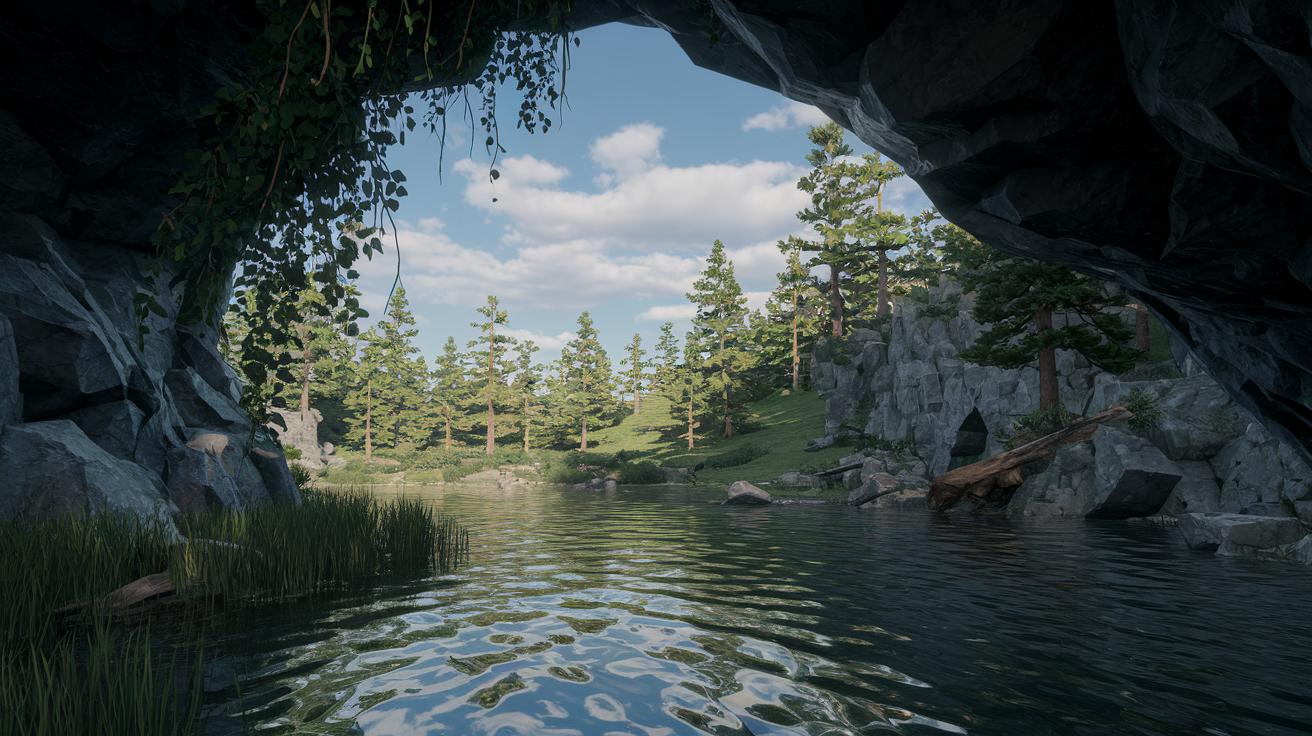
When you're scouting for a base in ARK, skip the coastal spots, they rarely give you enough resources. Instead, head inland where you'll find plenty of wood, thatch, fiber, and stone. Look for a spot with a water source nearby and a bit of high ground to help fend off predators. Think of these areas like secret resource hubs, a bit like stumbling on a hidden cache during a heated game round. Plus, if you can easily gather materials from trees and rocks, you're set. A safe base with natural barriers means fewer surprises from wild creatures during those early builds.
Then, consider what’s around you. Pick a location near caves, mountains, or supply drop sites. These places not only add some fun to your explorations but also give you quick access to extra resources. Being on high ground or near natural rock spots can offer extra protection when things get hectic. Basically, you want a spot that mixes plenty of resources with smart, natural cover so your base stays strong while keeping you close to cool landmarks that make your survival adventure even more exciting.
Foundations and Material Tier Progression for ARK Base Building
When you’re building your ARK base, picking the right material is super important. In the early game, thatch is your best friend because it’s easy to gather and use. Still, thatch only stops 1,600 damage, so it won’t hold up for long. As you collect more supplies, move on to wood, stone, and then metal. Each step boosts your base’s strength while keeping resource use smart. Going in order from thatch to wood, stone, and metal makes your build tougher without blowing through your materials.
| Material | Damage Resistance | Resource Requirements | Tier |
|---|---|---|---|
| Thatch | 1,600 | Low | Early |
| Wood | 10,000 | Moderate | Mid |
| Stone | 10,000 | High | Advanced |
| Metal | 10,000 | Very High | Late |
Foundations are a game changer for keeping your base steady. They hold up to four wall pieces or three walls with a doorframe, giving you plenty of space to expand. Plus, you can even add a roof that doubles as a floor for extra levels. Keep in mind, thatch roofs can’t do this trick, but roofs made of wood, stone, or metal can. Using strong foundations gives you a neat, solid build and helps keep creepy creature spawns away from your place.
Defensive Perimeter and Trap Strategies for ARK Survival Evolved Base
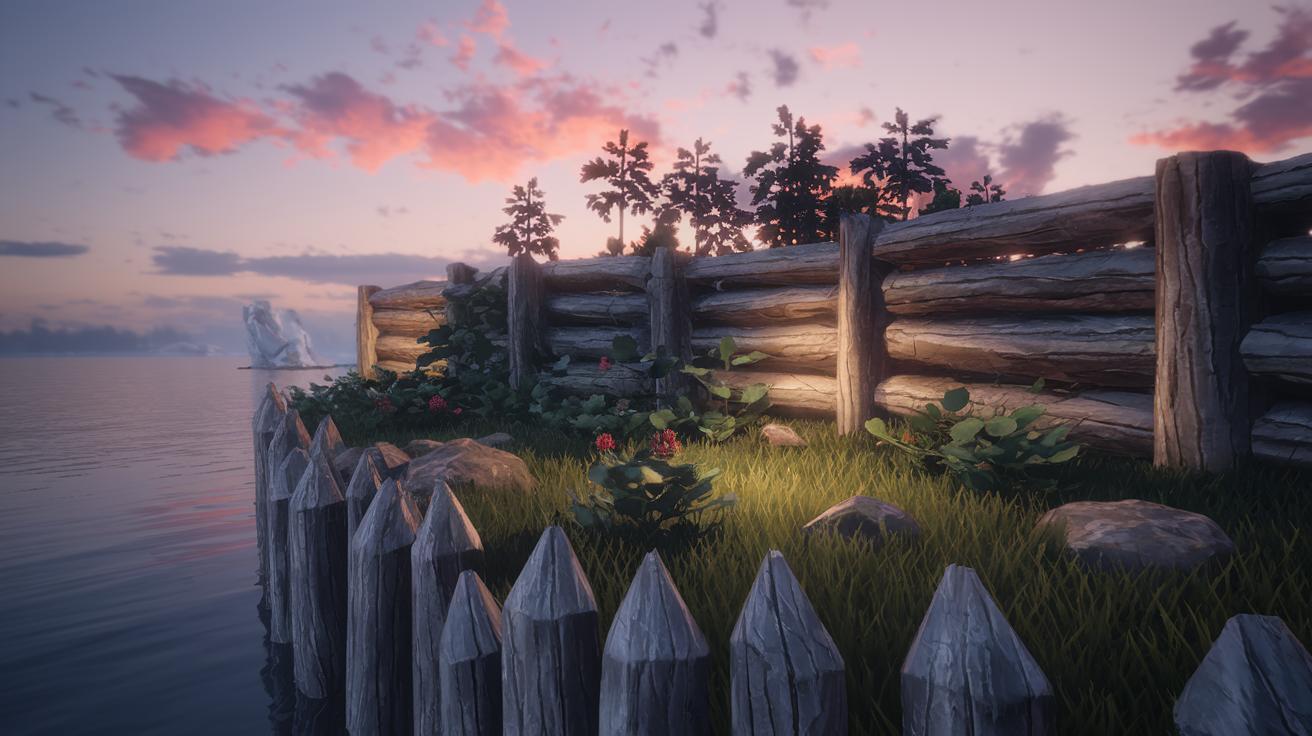
In ARK, setting up a strong outer edge is super important. The game’s collision glitches sometimes let creatures and players hit past your walls, so a tough barrier not only guards your base but also gives you time to react when trouble comes knocking.
When you build a solid perimeter, you’re making a barrier that slows down any unwanted guests. It’s like having a shield, a mix of traps and smart defenses that can scare off wild beasts and enemy players alike. Even if someone breaks through, you’ve layered your base with extra protection.
Here are some handy items to include in your setup:
- Wooden Spikes: A cheap way to damage intruders.
- Stone Spikes: They’re tougher and last longer.
- Double Fence Foundation Layers: This adds depth to your defense.
- Elevated Guard Tower Platforms: Great for spotting bad guys from afar.
- Dodecagon Wall Arrangement: Creates lots of choke points to slow attackers.
If you’re playing PvP, you can turn this idea up a notch. Many skilled players start with a hexagon shape that grows into a dodecagon. This design creates several rooms, which makes it tough for enemies to figure out your layout. Adding guard towers on high ground gives you a crystal-clear view of enemy moves, while well-placed traps really slow them down.
Mixing traps, layered defenses, and cleverly arranged rooms means your base turns into a near-impenetrable fortress. Once you feel safe behind your walls, you can dive into even bigger challenges with confidence.
Organizing and Expanding Your ARK Base Interiors
First, get your essentials in place. Put a comfy bed in a quiet nook so you have a safe spot to respawn. Next, set up a 12-slot Storage Box near your crafting corner to keep your supplies organized and within reach. And don’t miss adding a Campfire to cook up food and a Crafting Station for building more advanced items. Think of these pieces as your starter kit, just like gearing up for an epic co-op session before diving into the game.
As you gather more resources, add extra storage to handle the growing loot. A metal Vault with 150 slots works great for keeping bulk items neat and secure. Keep it simple: group items by what they’re used for. Placing your storage next to your crafting area cuts down on the back-and-forth, giving you more time to focus on your game.
To expand upward, use strong pillars and sturdy ceilings for multi-level builds. This lets you make separate rooms for crafting, storing items, and living, all in one building. Not only does this keep your stuff in order, but it also cuts down on wasted space and saves you from long walks when switching tasks.
Farming and Dinosaur Pens for Long-Term ARK Survival

Kick off your eco shelter by putting down some Crop Plots. They come in small, medium, and large sizes so you can start small and grow as you need more. Stick them close to water spots and your base entrance, this way, watering and checking them is a breeze. Scavenge seeds from bushes to get the fruits and veggies you need for recipes and dino kibble. It’s like building your own in-game garden where each harvest fuels your base and keeps your dinos happy. A smooth farming workflow means steady yields, even during your most action-packed sessions.
Then, set up solid dinosaur pens that also act like safe hideouts for your tamed creatures. With fenced enclosures and tough gates, your dino pals stay safe from wild surprise attacks. Plus, automated feeding troughs help you care for them without stopping the action every time hunger strikes. Creating a dedicated pen space gives you a smart way to keep track of your dinos as your multiplayer settlement grows. These simple setups are the backbone you need for long-term survival in ARK.
Maintenance: Preventing Decay and Planning Base Upgrades in ARK
Hey, gamers! When you're playing on PvE servers, your base is like your safe haven, but it's also on a ticking timer. Thatch lasts 4 days, wood holds out for 8 days, stone barely makes it past 12 days, and metal can last 16 days if no tribe members are around to refresh the clock. Imagine stepping away for a quick break and coming back to find your thatch roof crumbling. It's a rough lesson in staying sharp and checking in often.
The trick here is to set up a routine for on-demand upgrades and repairs. As your base grows, switch to stronger materials well before those decay timers run out. Regular checks, whether it's the walls, roof, or foundation, help catch small issues before they snowball. A quick walkthrough with a checklist can make all the difference. Upgrading from thatch to wood, and then moving on to stone or metal, not only secures your base but also gives you extra time to plan and avoid costly decay mistakes.
Advanced Engineering Practices for a Resilient ARK Base
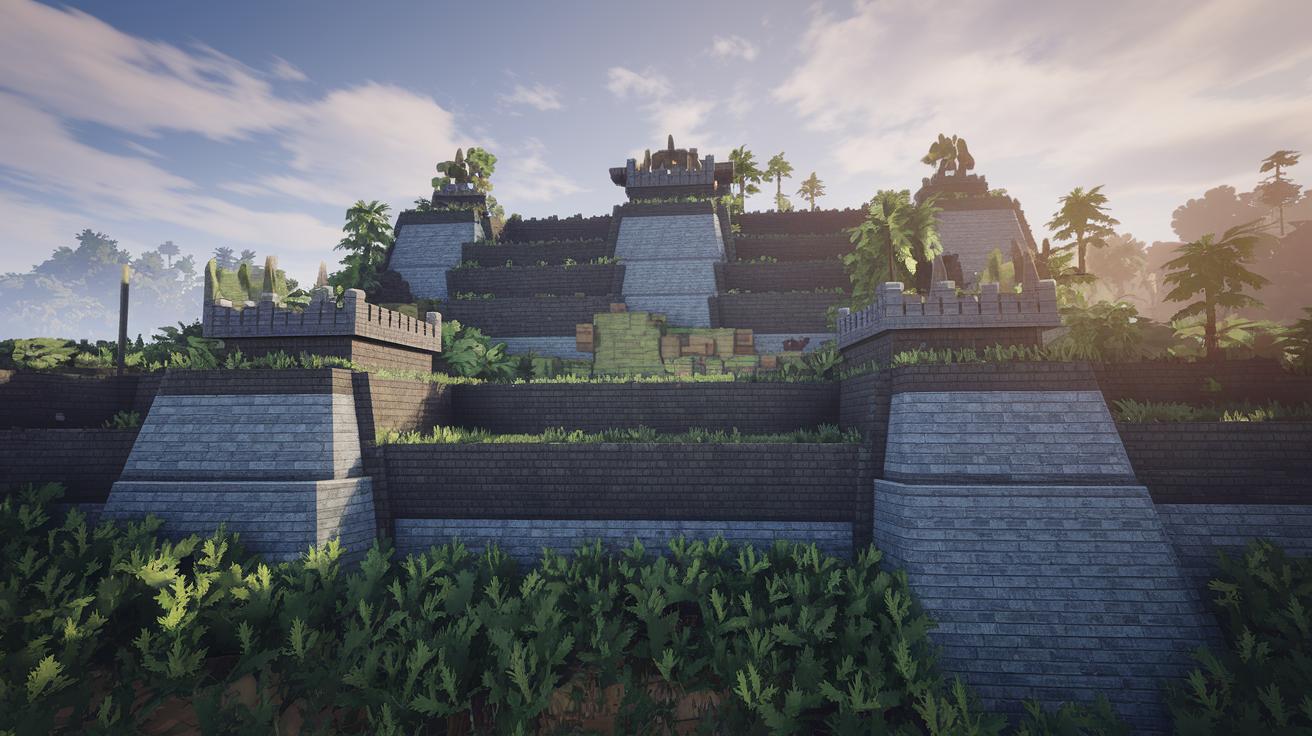
When it comes to building a rock-solid ARK base, seasoned players can mix and match cool design ideas like sturdy, multi-layer walls, snap-point modular builds that easily click together, and ceilings reinforced with pillars. These clever methods not only help your base stand strong in battle but also spark creative defensive setups, turning a basic shelter into a true fortress.
Adding turret platforms for long-range defense can really boost your setup. Try placing turrets on angled walls to cover more ground and block enemy blind spots. For instance, a turret set on a jutting rear wall works like an always-alert guardian, ready to fire back when trouble comes your way. Adjusting the turret’s angle makes its view overlap, adding extra layers of safety to your base.
Another cool trick, especially for those into PvP, is sneaking in secret rooms. By hiding vaults with code-locked doors inside your base, you get a safe spot to store your rare items and precious resources. It’s a bit like finding a hidden level in your favorite game, mixing fun with practicality. These secret spots also create multiple choke points that can throw off any unwelcome intruders.
Finally, think about using a modular expansion plan to keep your base fresh and flexible. With snap-point modular builds and interconnected passages, you can expand room by room without a big overhaul. This adaptable design lets you update your defenses quickly whenever new tactics or upgrade chances pop up, ensuring your ARK base stays a dynamic powerhouse.
Final Words
In the action, we broke down the essential steps to build your base in ARK Survival Evolved. From leveling up and gathering resources to choosing a smart location, every part was explained in clear, bite-sized tips to improve play and keep your shelter sturdy.
We wrapped up with techniques for defense and long-term upkeep, giving you the confidence to handle challenges head-on. Keep experimenting and enjoying every element of the ark survival evolved base building walkthrough for a fun, engaging gaming experience.
FAQ
Q: What does a walkthrough for ARK Survival Evolved base building on PS4 include?
A: The walkthrough explains step-by-step how to gather resources, unlock engrams, and build a solid shelter, making it easier for you to set up a secure base and avoid common mistakes on the PS4 version.
Q: How can I follow a step-by-step blueprint for ARK base layouts?
A: The blueprint guides you through the process of placing foundations, walls, and ceilings while showing resource collection and mid-game upgrades, so you can build a functional and secure base that fits your play style.
Q: What is involved in building a base in ARK Survival Evolved or Survival Ascended?
A: Building a base in these games starts with leveling up, unlocking key engrams, and gathering materials. Then, you follow detailed construction steps to set up a shelter that deters hostile creatures and secures valuable resources.
Q: How are ARK base designs tailored for PvE gameplay?
A: PvE base designs focus on practicality and defense. They emphasize sturdy foundations, efficient room layouts for crafting and storage, and defense setups that help protect you from wild creature attacks while enjoying a smooth game experience.
Q: Are there recommended tutorials or ideas for ARK base building?
A: Tutorials and build ideas provide clear instructions covering everything from resource gathering to placement of walls and roofs. They offer practical tips to help you construct a balanced and secure base suited for your early game needs.
Q: How do I build in ARK: Survival Ascended?
A: Building in Ark Survival Ascended follows updated but similar steps as before: level up, learn essential building skills, collect resources, and use step-by-step placement instructions to create a stable and resource-friendly shelter.